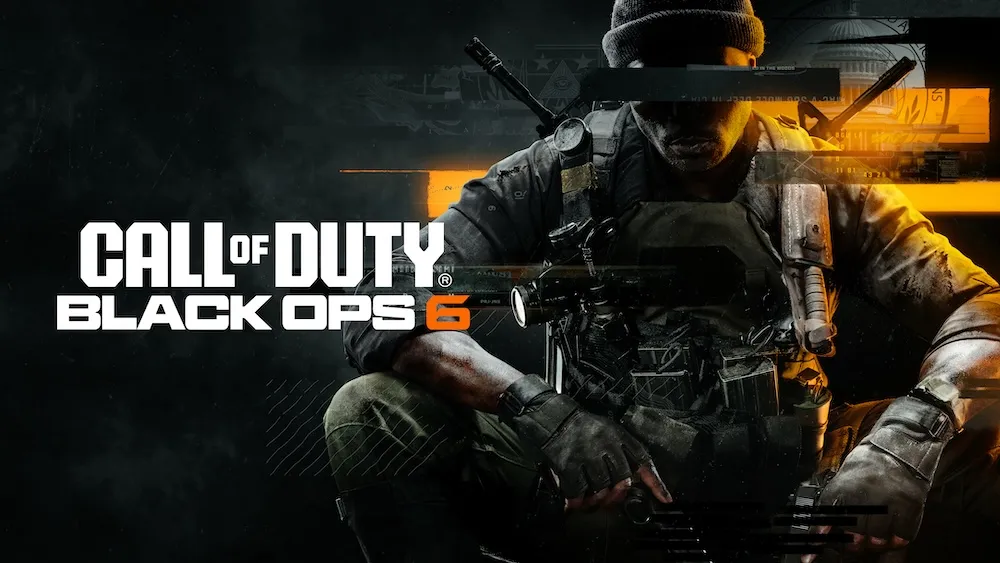
 Bionic Commando comes to PS3 and Xbox 360 long after it first appeared on Nintendo’s NES system. Paying homage to the original, the new Bionic Commando continues the story of hero Nathan Spencer in a newly realized 3-D world.
Hidden throughout Bionic Commando’s three acts are 150 hidden collectibles, or items. Sometimes the locations of these collectibles are obvious, and other times, not so much.
The following guide will walk you through where to find all 150 collectibles in the game. Either an Xbox 360 Achievement or PS3 Trophy awaits the impressive feat.
Before you begin, please be aware that once you reach a checkpoint in Bionic Commando there is no going back to pick up a missed collectible. It is important to make sure you have cleared an area before proceeding.
The easiest way to know if you’ve secured all the collectibles in an area is to check the menu. Good luck!
Act One
Ascension City: Downtown Area One
1. Check the corner with the sofas after defeating the first guard inquired. The collectible is impossible to miss.
2. Find this collectible at the top of the first staircase.
3. Go back down the first flight of stairs and look for the room to be dark. The collectible will only appear when the lights are out.
4. Be aware of the ground and red walkways. A collectible is in a room on the other side of the first.
5. A second red walkway will lead you to the second collectible.
In-Game Tutorial
6. Look for horizontal bars in the Terminal room. The collectible is obvious; you just need to perform a perfect swing to grab it.
7. You will be asked to hack a computer panel and then “rip” it. First, swing on the bars to your left to grab the collectible.
8. When asked to perform Death From Above, look down below and target your jump to land on the collectible.
9. In the final Terminal room, perform the hack, select “punch,” then look “up” for the collectible.
Ascension City: Downtown Area One (resumed post tutorial)
10. The collectible is located just above your head after finishing your first building jump.
Ascension City: Downtown Area Two
11. You’ll quickly spot the collectible in front of you when this area begins, up high and requiring some swinging to reach.
12. A fiery crater will have to be traversed next. The collectible is on its edge.
13. The collectible is halfway up a column for the broken railcar track as it doglegs to the left.
14. The final collectible in this area is way up high at the end of the railcar track.
Ascension City: Downtown Area Three
15. There is a relay to hack here. Be sure to ascend to the areas above it to find the collectible.
16. In rare interior action, you’re forced into a building with torn apart rooms. The collectible is on the second room you can access to the left.
17. Exit the building, drop down and spot the collectible near a column.
18. An obvious railcar is waiting to be pulled. Rip that sucker and the collectible will reveal itself.
19. There is a large “Tube Travel” sign before the bridge. Look up to the right for the collectible sitting up near a horizontal beam.
Ascension City: Downtown Area Four
20. There are lots of mines and you’ll spot the collectible amongst them. Disable then mines, then return to snag it.
21. Exit the subway and there is a railcar to the right begging to be ripped. Just in front of it is the collectible.
22. The next collectible is just inside a building, up high. Be weary of it and you’ll spot it with ease making your way through the level.
23. A central building near the third relay has an accessible roof. The collectible is on it.
24. Hack the third relay and then use the mines around it to find the collectible, hidden amongst them.
Ascension City: Downtown Area Five
25. The waypoint will send you through a building towards stairs. Given the choice to go up or down, go up until the collectible reveals itself at a dead end.
26. The purple building on the right after the next waypoint stands out and for good reason. There is a collectible on the roof near the “Tricell” billboard sign.
27. Another collectible sitting in the mines. Go through the pipe in the middle, hack the relay, then return to grab the collectible.
28. That same relay has a ledge with rocks underneath. A collectible is just below.
29. After defeating the first Biomechs you encounter, the collectible is up on the Central Bank’s facade.
Ascension City: Downtown Area Six
30. There are snipers here and you are warned. Look down each area to the left after moving forward with this warning.
31. Move forward into the snipers lair while looking up for a collectible near a building’s edge situated near a cylindrical tower.
32. That same building has an opening on one side. You can fit in, get in and find a collectible.
33. By the same circular structure there is a battered tunnel walkway. A collectible sits atop it.
34. A large bridge structure is at this level’s end. Swing “under” it and find the collectible between its legs.
Trent Industrial District Area One
35. Water comes into play and of course the first collectible is in the first water hole on the right.
36. Two tall green and white towers were once connected by a pipe that is now broken. The collectible is up on that pipe.
37. A large blue circular building has pipes feeding into it from other structures. One of those structures is also circular with rims, and the collectible is on one of the rims.
38. An orange circular building has a pipe jutting out of it. The collectible is inside the pipe (beware the sniper!)
39. It is up high near where you grab the sniper rifle. Be careful; it is tricky to reach and missing will result in death.
Trent Industrial District Area Two
40. Take the upper path when the level starts and it stares you right in the face.
41. You’ll spot a Biomech and collectible in the same room. Defeat the mech, then swing up high to get the collectible.
42. The level exit tunnel has a collectible just above it.
Trent Industrial District Area Three
43. Keep looking right and up as moving forward and the collectible will appear at the top of a building.
44. Three railcars are all lined up neatly near a weapons pod. Rip them and find the collectible inside.
45. Your first enemy encounter is at a building’s base. This same building has a collectible atop it.
46. Keep moving towards the waypoint and the next collectible is in the middle of your path.
47. Enter the building and keep a lookout for a room to the exit’s right that houses the collectible.
48. A message will warn you about airborne enemies while atop a roof. Below you is the collectible which you can jump onto.
49. A series of unmistakable perpendicular aerial walkways have a collectible in the middle of them.
50. A minefield wraps the level with a collectible just below it.
Trent Industrial District Area Four
51. Take the path to the left and look on top of the building flanking you.
52. An elevated broken bridge has a bus on it just past the first collectible. The second collectible is on the bridge.
53. Exit the building you’re forced through and the collectible is up high in front of you.
54. A Casino with a satellite tower has the next collectible on its roof.
55. Another minefield collectible.
56. Just beyond the minefield is a warehouse and construction site. The collectible is in the rocks to the right.
The Fissure One
57. Move forward from the start and spot it on a ledge to the left.
58. You are forced down a huge hole. The collectible is on the way down.
59. At the bottom, look around to the right side for the collectible behind some rocks.
60. A waterfall has a huge triangular rock jutting from it. The collectible is barely visible in the fall’s water.
61. Out in the middle of a void when you are forced to use the sniper rifle.
62. Get the throw ability and head back to the waterfalls area. Use the rocks here to break the wall that looks like its breakable and find the collectible.
The Fissure Two
63. Head up and find the collectible near a ledge that has a smashed green car on it.
64. Out in a void as you move forward through the level.
65. Look out for a broken pipe jutting from the wall face on the left. A collectible sits inside it.
66. Just beyond the pipe to the right is the next collectible, out in the open.
Ascension City: Downtown Area Eight (previous level has no collectibles)
67. Spin around when the level starts and it is impossible to miss.
68. Traverse a large tunnel and the collectible is up near the roof.
69. Further in the tunnel is a bus on the left. The collectible is hiding behind it.
FSA Avenue
70. Right away jump to a ledge on the right with a police car to spot the collectible.
71. At the bottom of the escalator in the subway station.
72. There are direction billboard signs above the road in the open area where you fight the Biomech. The collectible is above the signs.
73. Move forward after the fight and find a collectible behind a crashed truck to the right.
74. Immediately turn left and spot the next collectible at a building’s base.
The Buraq
75. There is a huge structure with all sorts of beams and bars protruding from it. The first collectible is hidden amongst the metal maze.
76. The second collectible is here too, only higher up near a walkway.
Act Two
The Fissure Three
77. Back into the fissure you go. Right away look up to eye the collectible.
78. Now look down and you’ll see another collectible at the area’s base, just inside an alcove.
79. Move forward and find a massive bridge overhead. The collectible is just to the bridge’s right.
Saint’s End Station
80. Enter the station and spot the collectible at the end of a destroyed subway train.
81. Walk the same platform’s edge and find a collectible down below.
82. Another minefield collectible; be sure to disable the mines first.
83. A subway tunnel is near this minefield. Look down it for a collectible.
84. Keep looking down tunnels to find the final collectible in this area.
The Fissure Four
85. A gift; you start right in front of it.
86. Find the red circular platform lit by four lights. The collectible is to its left.
87. You’ll come across a crane with blue barrels scattered around it. The collectible is behind the barrels.
88 and 89. Another minefield, only this one yields two collectibles.
Ascension City: Park Area One
90. You start in a large canyon. Find the collectible up high on the canyon’s back wall face.
91. Move to the right side amidst the trees and spot the collectible up in a tree.
92. Up on the clifftop above a pond.
93. From the last collectible, keep lookup up on the rock faces to find the next.
94. A rock juts out from the cliff just before reaching the road, and it has a collectible on it.
95. The road ends into a collapsed tunnel. The collectible is on the rubble.
96. Look under the road to find the collectible hidden behind the support columns.
Avenue of Heroes
97. Approach the massive gully and look up to the left.
98. A structure has broken statues. Look around the rubble on this structure.
99. Move to the structure’s top to find another.
100. Enter the building through a glass tunnel. The collectible is up high dead ahead.
Ascension City: Park Area Two
101. Enter the large atrium space with a glass dome ceiling. The collectible is up on the right.
102. A long hallway has “Garden Locus” signs on either side. The collectible is on the way down it.
103. Exit the building and find the collectible behind a small supply structure near the cliff’s back edge.
104. Another jutting broken pipe with a collectible in it, this one in an area with a Biomech confrontation.
105. Turn left from the pipe and spot the collectible down the gully on the rocks.
Ascension City: Garden
106. Do a quick spin around and you’ll be looking right at it.
107. There are walkways near the water. A collectible is hiding underneath them.
108. The next area has walkways, too, and a collectible is under them as well.
109. You’ll enter a very high atrium with snipers up on walkways. A collectible is up there, too.
110. A confrontation will ensue with a Biomech armed with lasers who is coincidentally guarding the collectible.
Ascension City: Park Area Three
111. Move to the left at the start and find it on the ground amongst the trees.
112. On the banks of a small pond low to the ground.
113. Head to the roof of the first building encountered to find the collectible.
114. Mines line a cleft that houses the next collectible.
115. Near the second relay are giant rocks in the water that house the collectible.
116. Move back to the first building, down the gully, after collecting the previous collectible to find the next one.
Ascension City: Park Area Four
117. Move left along the rocks towards the building with the green roof. The collectible is on the ground in the shadows.
118. Right in the middle of the road after you are asked to locate the Carrion device.
119. A stairway leads into the main grounds. Look in the rocks to the left.
120. A big needle monument in the courtyard is the perfect place for a collectible to hang out on.
121. Look for low walls along the courtyard. A collectible is on the other side of one.
Federal Archives
122. Glass domed roofs usually have collectibles under them and this is no exception.
123. A second glass domed roof will reveal a second collectible.
The Mohole
124. Keep right when moving towards the waypoint. It is dark so the glowing collectible will pop on the screen.
125 and 126. One is above the big wrecked bridge and the other below.
Port Anderson One
127. Move forward towards the wreckage and easily spot a collectible.
128. Check left and right when moving through bends in the tunnel.
129. Look up at the road signs high above to spot the last collectible.
Port Anderson Two
130. Head to the top of the structure where you start to find a collectible.
131. Keep moving towards the waypoint and you’ll literally drop onto the next collectible.
132. Move towards the first anti-air turret and spot a collectible up high and out in the open.
133. Check all sides of the building near the turrel for another collectible.
134. Defeat the first turret and head back towards the warehouse. The collectible will be up on a ledge near where you started.
135. Look down in the water near a partially submerged building.
Port Anderson Three
136. The first room reached on the right has the collectible up on top of some random machinery.
137. Exit the building and spot the collectible hovering up high near some pipes.
138. Climb a red steel structure with a white “2” painted on it. The collectible is above the number.
139. More round blue structures mean a collectible on the rim of one.
140. Exit the second interior section and the collectible is just ahead, slightly to the right.
141. Exit the third interior section, swing up above the exit and spot the collectible behind some air conditioning ducts.
142. Head to the top of the final circular building to find the last collectible.
Act Three
Ash City (Buraq Armada has no collectibles)
143. Exit the chasm and look straight ahead, then up.
144. Locate the red platform and the collectible is near the rocks by it. Get the collectible before going onto the platform.
The Constructor
145. Head to the top of the red platform to find the collectible.
146. High in the middle of a cylindrical drum on the way to disabling the first cooling unit.
The Vault
147. Look over at the cliffs after reaching the first weapons drop point.
148. The second weapons drop area has the collectible behind a big rock at the cliff’s edge.
149. The collectible is under a box in front of the exit door.
150. Drat, missed a number?